


Pretty Floral Balloon Cloud DIY Tips
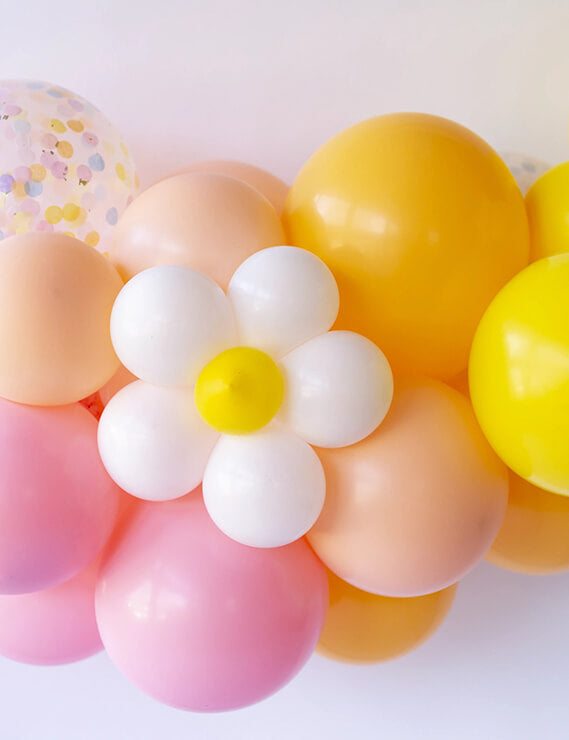
If you saw our Pastel Tea Party setup, then you probably noticed this gorgeous floral balloon cloud that we created. Today we wanted to share the step-by-step instructions and the tips with you so you can create your own beautiful floral balloon cloud which will surely take your celebration to the next level!

Materials:
- Balloon Cloud Kit (available in our shop!)
- 11” balloons & 5” balloons in various colors
- Hand pump
- Fishing Line
- A small bunch of greenery (3-4 stems)
- Two bunches of fresh flowers (10-15 stems)
- Scissors
- Floral clippers

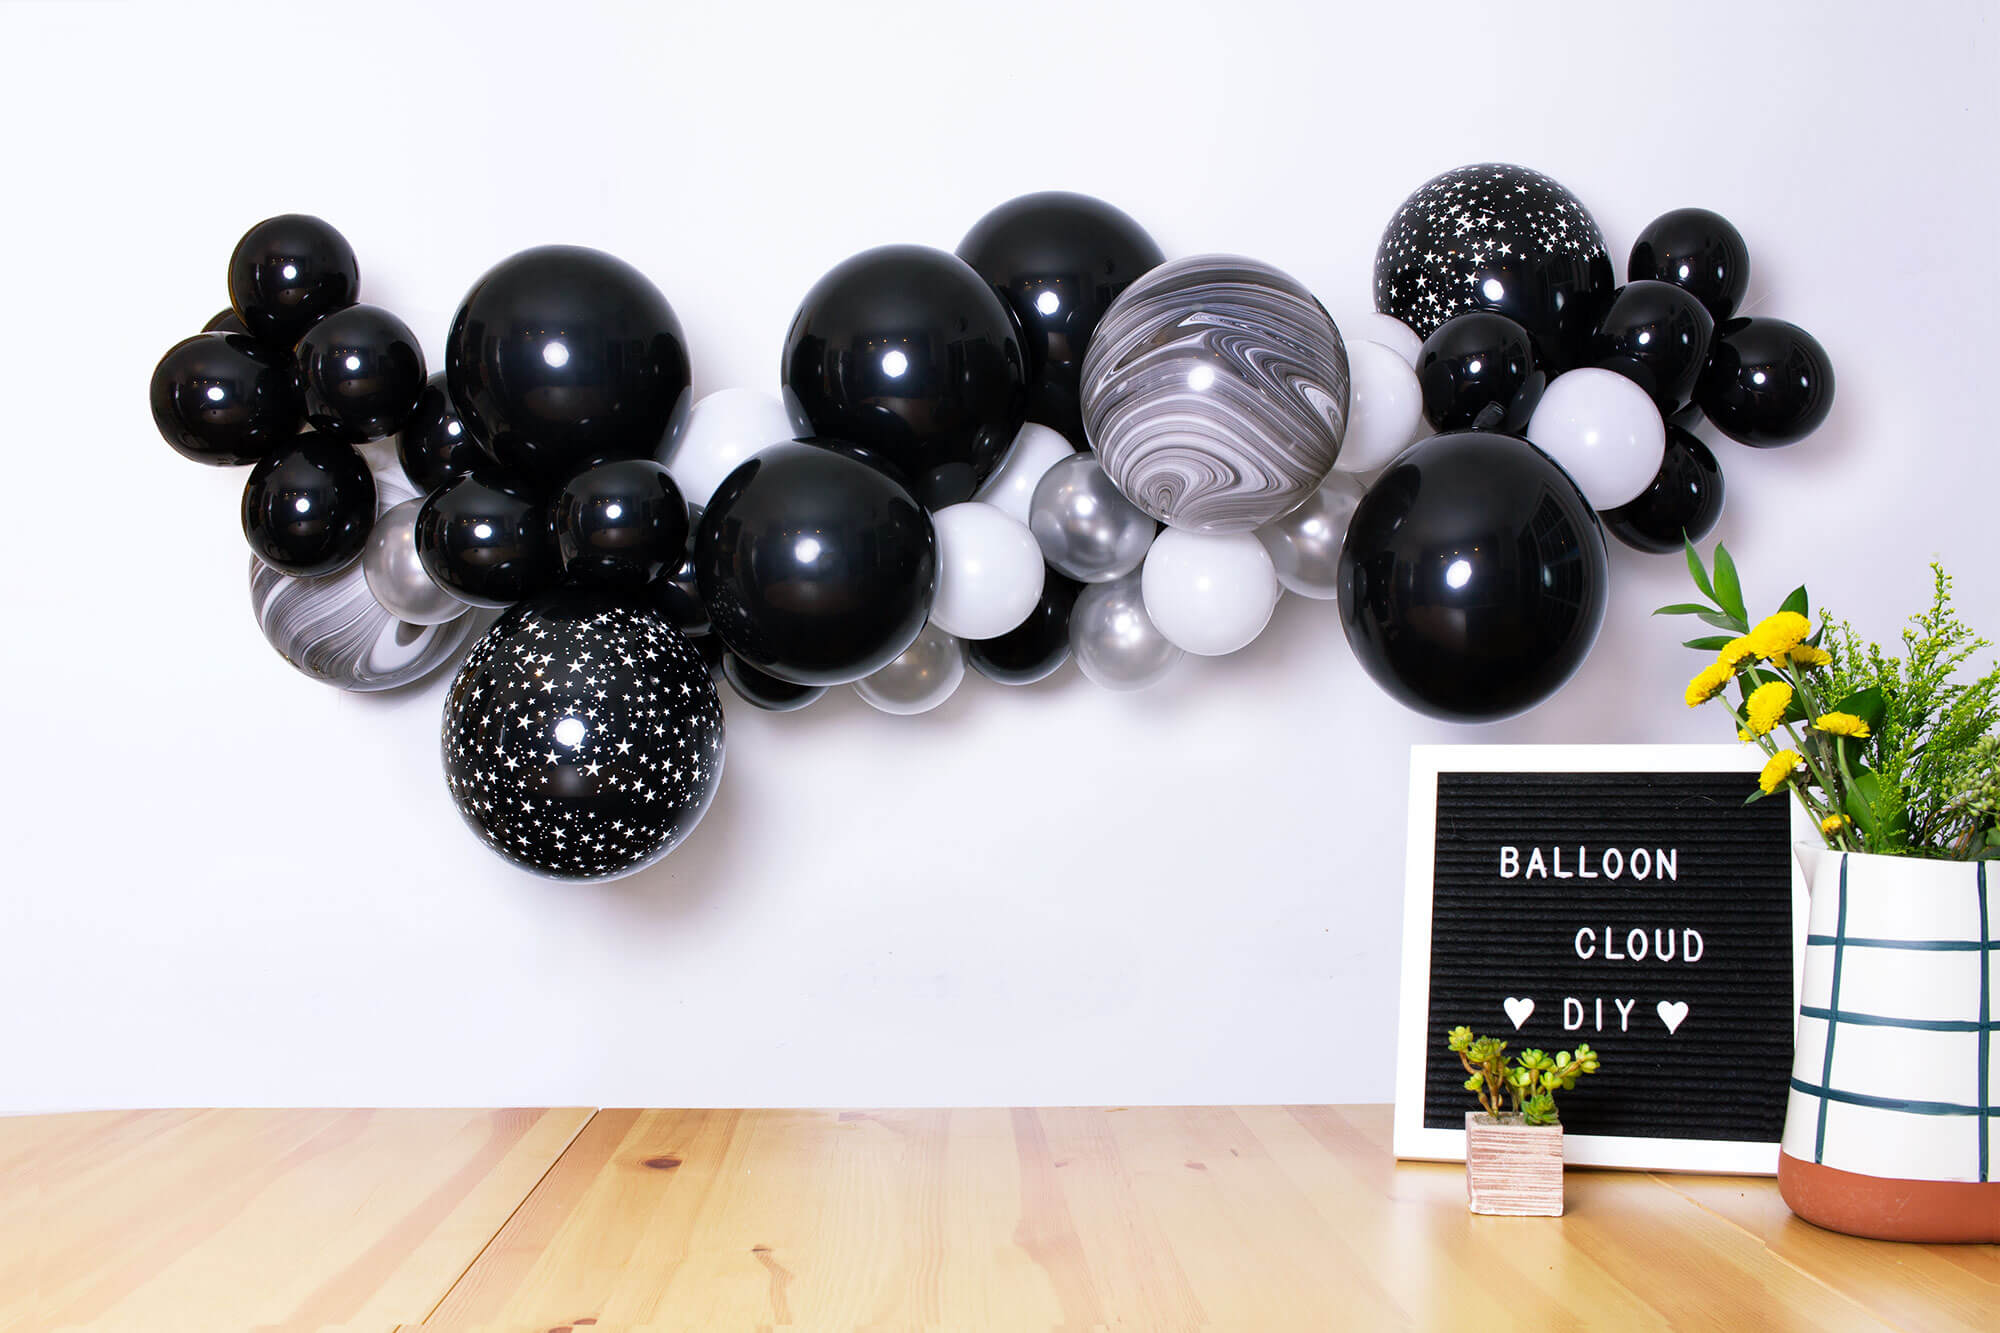
First thing first, create the the balloon cloud! Check out our previous blog to learn how to make your own stunning balloon cloud. Again, don’t be intimidated by its beautiful look! It’s actually an easy and fun DIY project and doesn’t require super craft skills!
When choosing the flowers and greeneries for the floral balloon cloud, we recommend using light-weighted flowers & greens in order to keep the balloon cloud the original organic shape. For flowers, we used a combination of peony and carnation in pale pink to create some variety but pretty flowers like lisianthus, rose, and buttercup would also work great as well if they’re in season. As for greenery, long vine greens like Italian ruscus, silver dollar eucalyptus, live bay leaf, or fresh olive leaf are great since they’ll give that drape-y, dreamy vibes to your balloon garland. We got our flowers from our florist in the area but your local farmer’s market, Trader Joe’s or grocery store are all great places to get fresh, inexpensive flowers.

To prepare the flowers, we trimmed the stems and left about 8-9 inches for each stem in order to leave some room for each of them to be attached to the balloon cloud. For the greenery, they can be a little shorter, about 6 inches each. To make sure the flowers and the greens stay fresh, put them in a vase with water as you prep.

 Once everything is prepared, now it’s ready to add the pretty flowers and greenery to the balloon cloud! Simply insert each of the stem in the gap of the balloons and make sure they stay up. We started with the flowers first and then filled in with the greens. There’s really no right or wrong order to attach the flowers/greens to the balloon cloud. You can totally play around and have some fun in making the look that you love!

 One useful tip, if your flowers are on the heavier side and need some extra support, you can use floral wire which is easily accessible at Michael’s or your craft store. Simply use it to secure your flowers to the balloon cloud string (fishing line).

And voilà, it’s all done! Now, get ready to receive lots of aahs, oohs and wows at your party!
Hope you like it!

xoxo,
Tai & Yao
Written by Momo Party
Leave a comment
This site is protected by hCaptcha and the hCaptcha Privacy Policy and Terms of Service apply.